-
 Written By Daniel
-
 0 comment
-
 Publish Date : May 16, 2024
-
Last Update : July 27, 2024
-
 13 min read
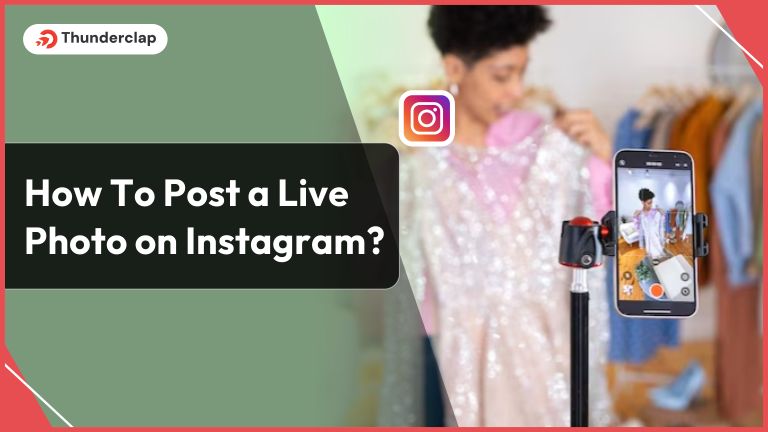
Now, you can share your small happy moments with your Instagram followers by posting a Live photo on the platform and making your profile more appealing.
Social media influencers and celebrities are making the most out of the Live Photos sharing feature on Instagram, offering more engaging content to their followers.
Live photos definitely add a captivating touch to the Instagram feed. Want to know how to post live photos on Instagram?
Detailed Overview Of How To Post A Live Photo On Instagram
This guide will help you understand the step-by-step process of adding live photos on Instagram. Follow the steps and see the gain to your Instagram numbers.
How To Post A Live Photo On Instagram?- 6 Easy Steps
Here are the easy steps on how you can easily share your favorite instances through live photos with your Instagram followers. Also, remember to engage with your audience through captions and hashtags to enhance the visibility and appeal of your Live Photo posts.
#1. Step 1: Take a Live Photo From Your iPhone
Begin by capturing a Live Photo using your iPhone’s camera. Ensure the Live Photo feature is activated by tapping the concentric circles icon at the top of your camera screen.
This captures a few seconds of motion before and after taking a photo.
#2. Step 2: Open Instagram App
Open your Instagram app and also make sure that the Instagram app is updated with the latest version so that you can have a great experience.
#3. Step 3: Tap the Plus Icon
At the bottom center of the screen, you will have a “Plus” icon. Tap on it to create a post.
#4. Step 4: Select Your Live Photo
Now, from your camera roll, choose the live photo you want to post.
After selecting your Live Photo, you’ll be directed to the caption and editing screen. Add a caption to describe your photo, and include relevant hashtags to improve discoverability.
You can also apply filters or make other adjustments to enhance your Live Photo.
#6. Step 6: Post Your Live Photo
Once you’re satisfied with your caption and any edits, tap the “Share” button to publish your Live Photo on your Instagram feed.
How To Take Live Photos on Instagram?
Here, we have mentioned the steps to take Live photos from your iPhone and then later the process to edit them as per your choice.
1. Steps To Take Live Photos
Step 1: Open The App
- Download the latest version of the app to get hold of all the exciting features and open it.
Step 2: Tap the “bullseye icon”
- At the top center of the screen, you will find the “bullseye icon” tap to activate the live photo mode.
Step 3: Keep your subject in focus
- With Live Photo mode enabled, focus on your subject and take the photo. The camera captures a few seconds of motion before and after the shot, creating a dynamic Live Photo.
#2. Steps To Edit Live Photos
Step 1: Open the “Photos app”
- Open the “Photos app” on your device. This is where you can access and edit your photo library.
Step 2: Tap “Edit”
- Locate the Live Photo you want to edit and tap the “Edit” button. This opens the editing interface where you can make adjustments.
Step 3: Click the “bullseye”
- Within the editing options, find and tap the “bullseye icon.” This indicates the Live Photo features, allowing you to adjust settings related to motion and sound.
Step 4: Tap the yellow “speaker icon”
- To control the sound of your Live Photo, tap the yellow “speaker icon.” This allows you to mute or unmute the audio associated with the Live Photo.
Step 5: Click on the “Live Button”
- Select the “Live” button, which resembles a set of concentric circles. This grants you access to additional Live Photo editing options.
Step 6: Change your Live Photo’s Key Photo
- Scroll through the frames of your Live Photo to choose a specific moment as the key photo. This is the frame that will be displayed in your photo library.
Step 7: Tap “Make Key Photo”
- Once you’ve selected the desired frame, tap “Make Key Photo” to set it as the cover image for your Live Photo. This key photo will be the still image displayed in your photo gallery.
Why Do People Post Live Photos on Instagram?
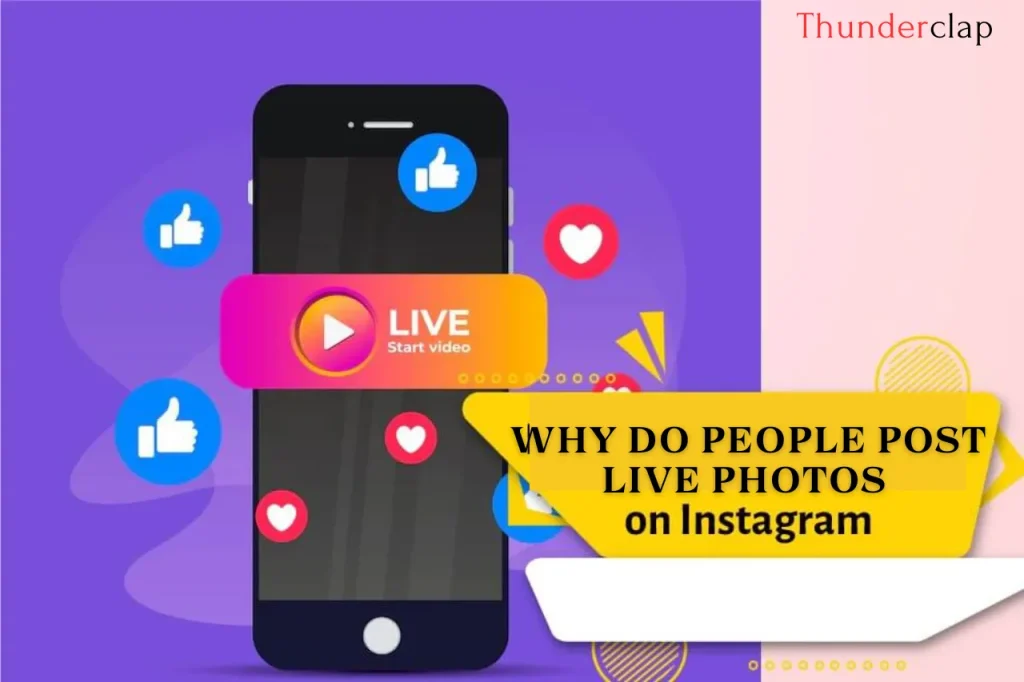
Posting Live Photos on Instagram serves as a strategic move for several reasons, contributing to the platform’s dynamic visual storytelling. A few benefits of posting live photos on Instagram are listed below:
#1. Expand Your Online Reach
The dynamic element adds an extra layer of interest to your IG feed, potentially attracting more viewers. Instagram’s algorithm tends to favour content that keeps users on the platform longer, and Live Photos, with their brief motion sequences, can capture attention and encourage longer engagement.
This increased visibility can lead to higher discoverability and, ultimately, a broader online reach.
#2. Builds Stronger Connections With Your Audience
Live Photos provide a more immersive experience for your audience. This deeper engagement offers a sense of authenticity. A more relatable and close relationship is formed between the content creators and the audience when they share action images, candid moments, or behind-the-scenes looks.
Authenticity is widely prized in social media, and Live Photos can help cultivate more real and devoted Instagram followers.
Read Also
Where To Find Instagram Drafts On Your Android Device In 2024? – Best Guide
How To Manage Multiple Instagram Accounts: A Complete Guide
How To Add More Effects To Live Photos?
Adding effects to Live Photos can enhance the visual appeal and creativity of your captured moments. With Apple’s introduction of Live Photos, users can record a brief video and audio clip both before and after snapping a picture. Here’s how to enhance Live Photos with three distinct effects:
#1. Loop
Loop transforms your Live Photo into a continuous video loop, creating a captivating, seamless motion. To apply the Loop effect, follow these steps.
- Open the Live Photo in your Photos app
- Swipe up
- Select “Loop” from the effects menu
This creates a looped video that plays endlessly, making it ideal for capturing actions like dancing, jumping, or any dynamic movement.
#2. Bounce
Bounce is another engaging effect that plays the Live Photo in forward and reverse repeatedly, creating a playful and whimsical effect. To apply Bounce, follow the similar process:
- Open the Live Photo
- Swipe up
- Choose “Bounce” from the effects menu
The subject’s motion gains a sense of rhythm and can add a touch of fun to your captured moments.
#3. Long Exposure
The Long Exposure effect allows you to capture the passage of time in a single frame. It’s especially effective for scenes with motion, such as flowing water or moving lights. To apply Long Exposure again
- Open the Live Photo
- Swipe up
- Select “Long Exposure”
This effect merges the different frames of the Live Photo to create a stunning long-exposure-like image.
Can Live Photos Be Made Into A Boomerang?
While Live Photos and Boomerangs share similarities in capturing brief moments, they are distinct features. Boomerangs are short, looping videos created by stitching together a burst of photos, while Live Photos capture a few seconds of motion with sound.
While Live Photos can’t be directly converted into Boomerangs, apps like Instagram allow you to use your Live Photo to create a Boomerang-style loop by selecting the “Boomerang” option during the upload process. This way, you can enjoy the dynamic looping effect of a Boomerang while preserving the original Live Photo’s content.
When To Use iPhone Live Photos For The Best Results?
Live Photos are particularly effective in situations where capturing the essence of motion and sound enhances the overall story.
- Consider using Live Photos during lively events like birthday parties, concerts, or sporting events to capture the energy and excitement.
- Candid family moments, such as a child’s laughter or a pet’s playful antics, can be beautifully preserved with Live Photos.
- When exploring picturesque landscapes or bustling cityscapes, Live Photos with the Long Exposure effect can add a unique touch.
Overall, Live Photos are best utilized in dynamic scenarios where a few seconds of motion complement the still image, creating a memorable and more engaging viewing experience.
Source [Trevor Nace]
Conclusion
Sharing live photos to your Instagram adds a dynamic dimension to your visual storytelling. By following the simple steps of capturing, editing, and posting, you can engage your Instagram audiences genuinely.
Live photos not only elevate your content but also contribute to a more immersive and authentic connection with your followers, making your Instagram feed stand out.
Frequently Asked Questions
Yes, Live Photos can be posted on Instagram. When uploading a photo on Instagram, select the Live Photo from your camera roll, and it will be shared as a dynamic post, preserving the motion and sound captured.
Absolutely! Live photos work very smoothly on Instagram. The dynamic nature of live photos is supported by the app. The app also allows users to share these photos and view them just like any other still image.
While both capture motion, Live Photos are a combination of a still image and a few seconds of motion with sound. Videos are continuous sequences of motion without the static image component.
To make a live photo into a still image, open the photo in your gallery and then tap the option "edit," and choose the option "Make key photo." This selects a specific frame from the Live Photo as the static image.
You can easily export live photos as it is a very easy process. When you see the live photo from your gallery, simply tap the share icon and choose the option “export,” and it will be done. You can share it through message, email and many other social media platforms.
To use Live Photos on Instagram Reels, open the Instagram app, create a new Reel, and select the Live Photo from your camera roll. Follow the regular steps for editing and sharing Reels, and your Live Photo will be part of the dynamic content.
There are several third party apps that will help you to convert your Live Photo into a video reel. You can also share your live photo on several social media platforms by just importing it, adjusting its length, and clicking on the option to export it as a video reel.
Follow the steps mentioned below, and you will be able to convert a Live Photo into a regular photo on an iPhone. Open the Live Photo in the Photos app Tap the option "Edit" At the top of the screen, tap the icon of “Live Photo.” This freezes the motion, converting it into a static image Save the changes, and you now have a regular photo without the dynamic elements
Stickers can be added to Instagram Stories but not directly to Live Photos. To alter your Live Photo before sharing it on Instagram, you can utilize third-party apps.
Live Photos typically take up about twice the space of a regular photo as they include a few seconds of video. The exact size varies based on factors like duration and quality. For more control over storage, you can convert Live Photos to regular photos in the editing options on your device.
Yes, incorporating Live Photos into your Instagram content can enhance engagement and attract more followers. People are often drawn to interactive and creative content, and Live Photos provide an opportunity to showcase authentic moments, creating a stronger connection with your audience.
Sharing Live Photos directly on Instagram from an Android phone is not supported. To export live photos as video files before sharing them to Instagram, you will require third-party applications or convert them into boomerangs or Gifs.
In the vast landscape of technology, where innovation and change are the only constants, Daniel emerges as a steadfast guide. His fervor for all things tech is not just a fleeting interest; it’s a deep-seated passion that has been cultivated over many years. This passion, coupled with his extensive experience, positions him as an authority in the digital realm. But what truly distinguishes D...
Read More How To Get Notes In Instagram? [2024]
Instagram Notes is the quickest and most excellent way to share your thoughts with your followers. Instagram has recently added a feature to Instagram that will help you to initiate a conversation and...
Read More
Daniel
 16th May
 How to Get Verified on Instagram? 101 Guide
 How to Add Transitions To Instagram Reels In 2024